I plan on doing all of the paper products myself. I will add pictures and instructions as I go along. Here is what I plan on creating:
STD's
Pocketfold invites
Escort cards
Thank you cards
Photo Sharing cards
Programs
Table numbers
Menus
Out of Town Information
Reserved signs for church
STD's
Pocketfold invites
Escort cards
Thank you cards
Photo Sharing cards
Programs
Table numbers
Menus
Out of Town Information
Reserved signs for church
UPDATE:
Ok, so the plan to totally DIY my paper products did not turn out well. Turns out I suck at designing. So, I went to etsy, found an amazing graphic designer and she is creating all of my files which I can then print, cut and assemble on my own.
Save the Date
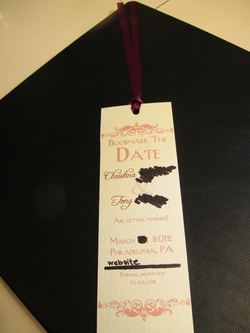
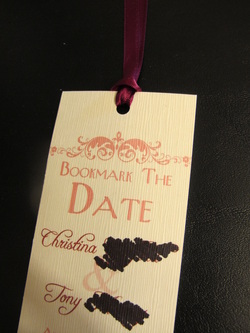
I had this great idea to have bookmarks for our save the date's. I turned to my fabulous graphic designer to create something classic and romantic to set the tone for my formal wedding. After receiving the image I printed them on Japanese linen paper from www.lcipaper.com. My super crafty Aunt cut them into 2.5" x 7.5" strips. I punched a hole in the top and made a tassle from ribbon I got from www.ribbonretreat.com. And we have a bookmark! Problem: fitting them propery into an envelope. My aunt had an idea to wrap them in a paper that would better fit into the envelope. I once again turned to my graphic designer to dress up this paper. Now they are all ready to be addressed and sent!
Lesson learned: the stamp pad I purchased is pigment and even after 48 hours it wasn't dry. When I stacked all of the envelopes some of the ink transfered to the front of the envelopes. Won't make that mistake for the invites. :)
Lesson learned: the stamp pad I purchased is pigment and even after 48 hours it wasn't dry. When I stacked all of the envelopes some of the ink transfered to the front of the envelopes. Won't make that mistake for the invites. :)
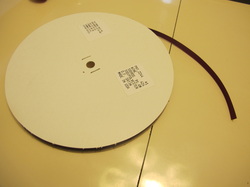 Cut the ribbon to 13" long. A good job for fiance. | 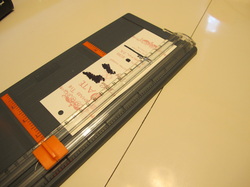 Cut bookmarks from 8.5" x 11" to 2.5" x 7.5". 4 per sheet. Punch hole at the top. |
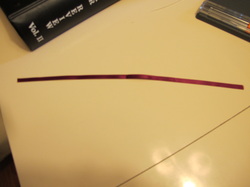 13" long ribbon | 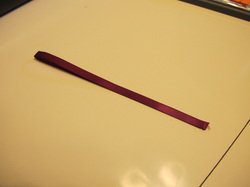 Fold in half |
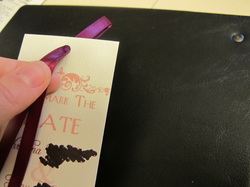 Put folded ribbon through hole. | 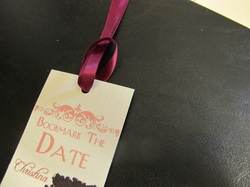 Put ends through loop. |
 Pull tight. | 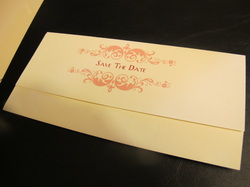 I made these to put the bookmarks in so the envelope didn't fold during mailing. |
 The graphic designer made a return address image which I used to have a custom return address stamp made. | 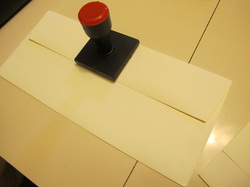 Stamped return address on back, addressed and off they went! |
INVITES
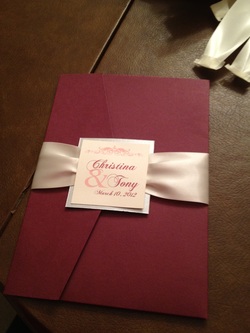
Here is the final product. Certainly a labor of love. Also, they wound up costing $1.08 to mail. Not to happy about that but they are beautiful. I started by printing all the parts of the invitation and cutting each piece. I used double sided tape to attach the invite to the left panel of the pocket. I then put each tiered insert into the pocket on the right. Next to the belly band.
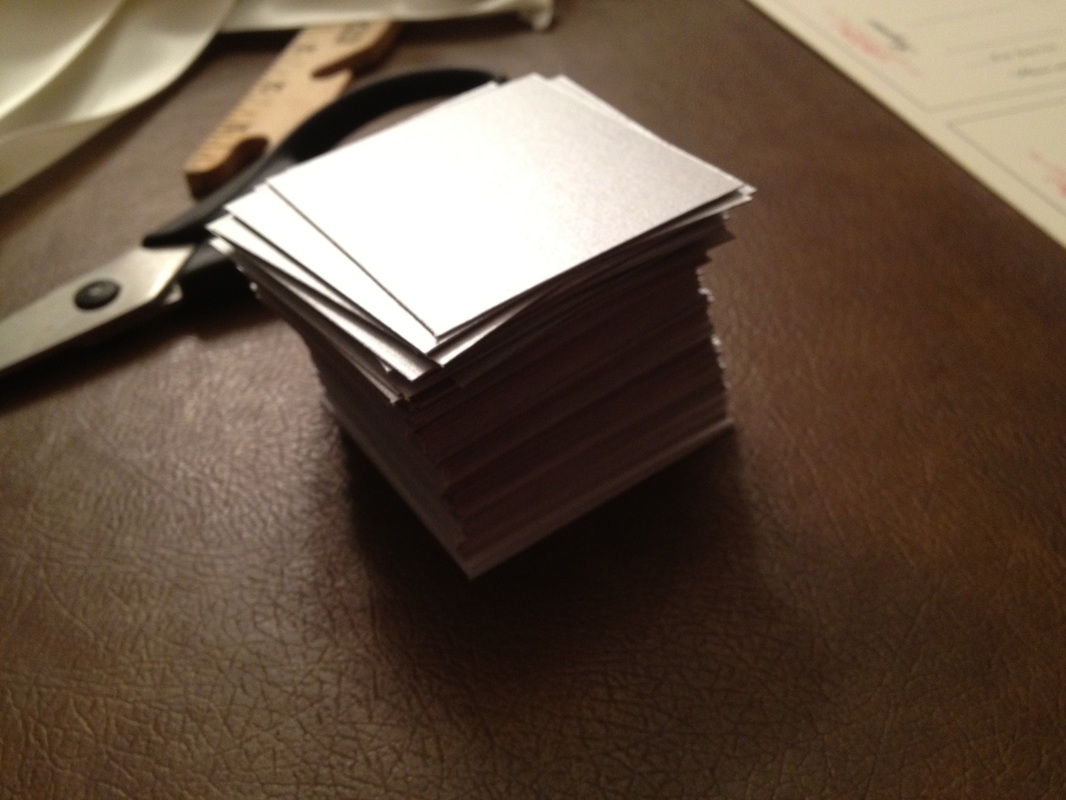
First we cut the base square.
| 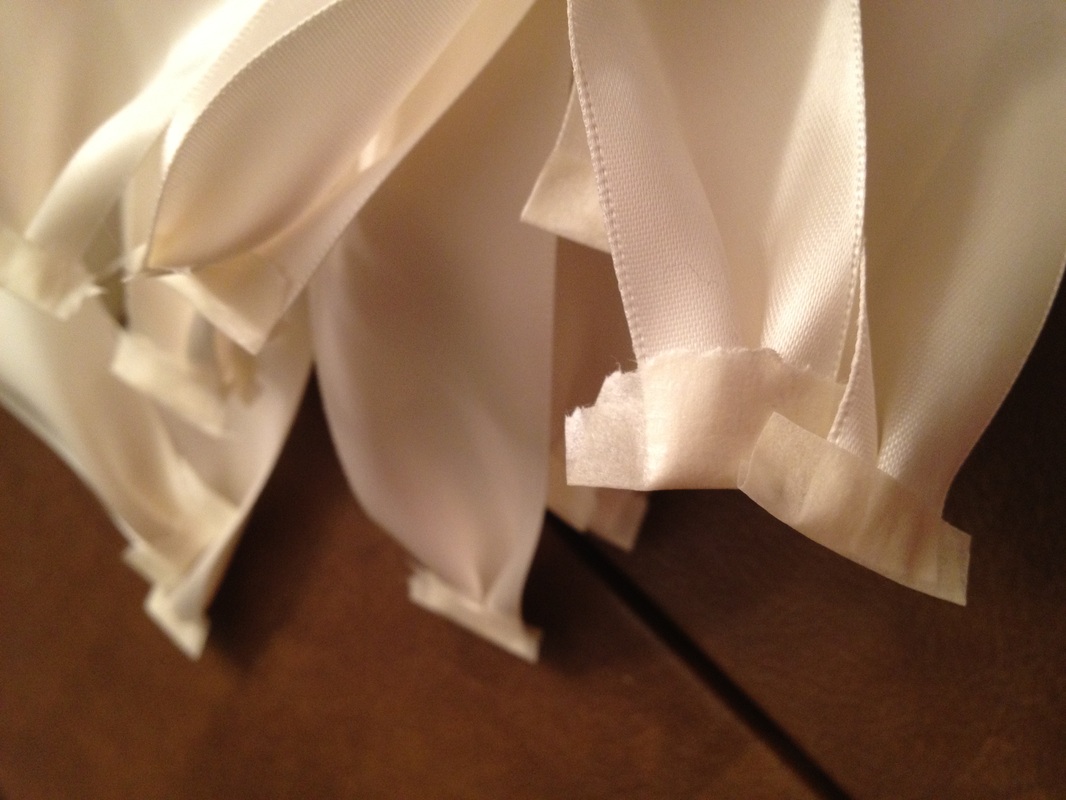
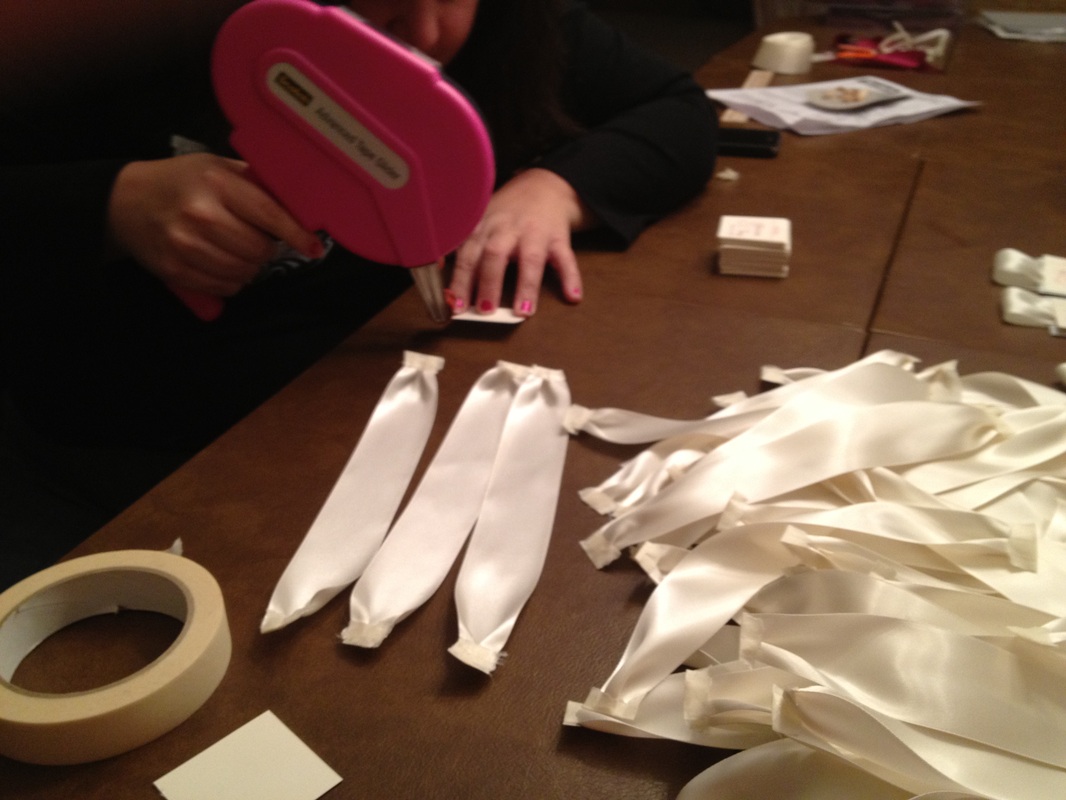
Next we cut the ribbon to a size that comfortably fit around the pocket and would be able to slip off. Then we pleater each one and taped the ends to keep the pleats in place.
|
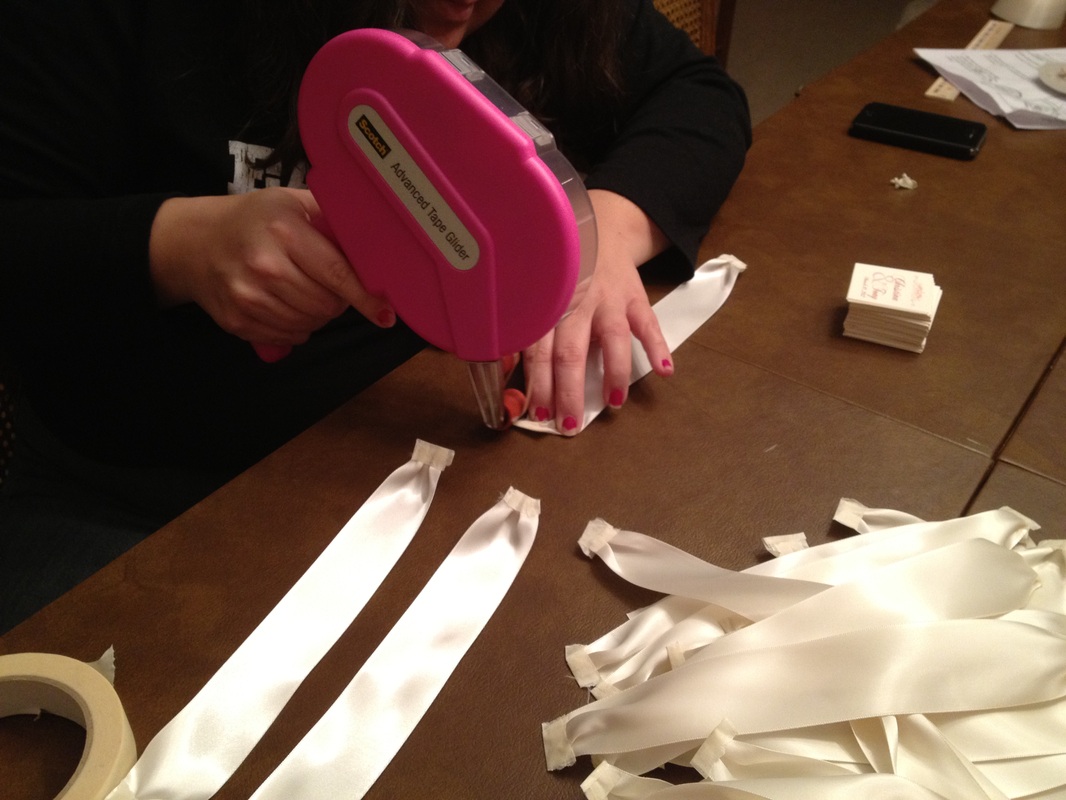
Next we put double sided tape on the ends of the ribbon.
| 
|
